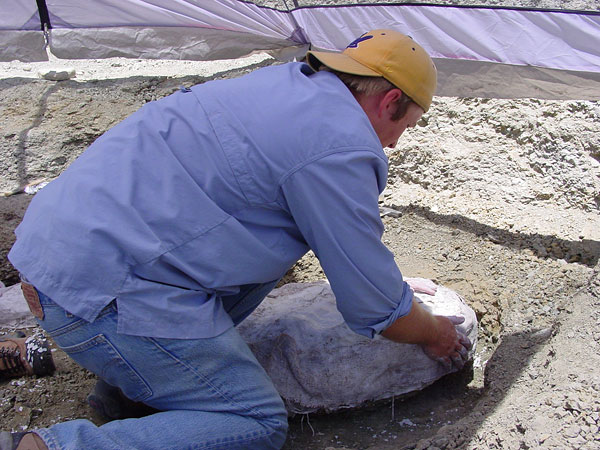
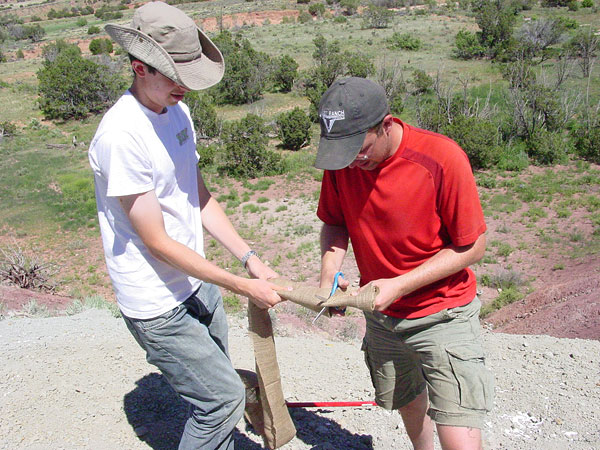
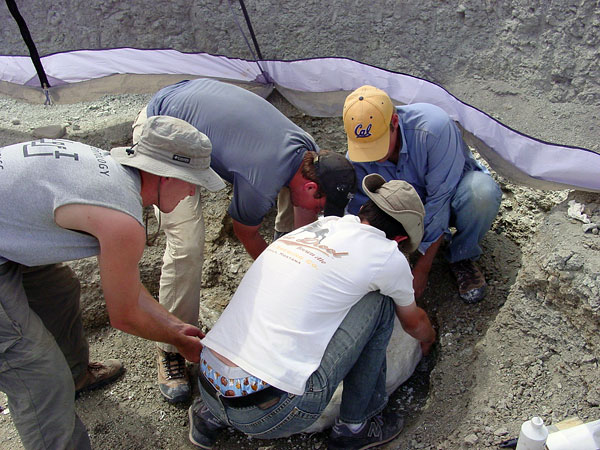
Left: Sterling Nesbitt applies damp toilet paper to the pedestaled fossil. This acts as a separator between the fossil and plaster. Right: Drew Eddy from North Carolina State University (left) and Randy Irmis (right) cut burlap strips.
Investigating the rise of dinosaurs: Field notes from Randy Irmis
By UCMP grad student Randy Irmis, late June, 2007
We recently finished up our excavations at Ghost Ranch. It was a very successful season; we collected over 1,000 specimens ranging from fragments to skulls and skeletons, and several hundred pounds of screenwash concentrate to be picked through at the lab. This year seemed to be the year of the phytosaur — we found many more specimens of this group of animals compared to last year.
The last week of excavations we were joined by the Ghost Ranch paleontology field seminar. This group is a bunch of folks who are interested in paleontology and excited to have a chance to join excavations. They are also invaluable in the field — we had a dozen people this year so it tripled our workforce. The seminar participants found many significant specimens and were a great help!
Making a plaster jacket
Last time I talked about how we recover the smallest specimens using a technique called screenwashing. This is inappropriate for larger specimens (1 cm or larger). For these, we want to use a method that will allow us to remove the bone whole and undamaged — preferably with a protective layer of rock that can be removed slowly in the controlled environment of the lab (where we have specialized tools, glues, microscopes, etc).
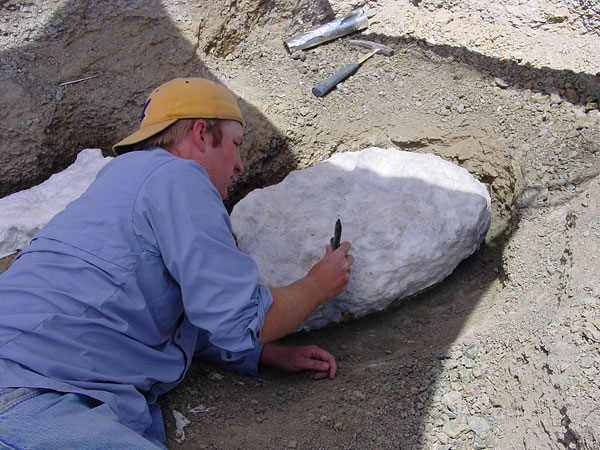
The key is to immobilize the rock and fossil so it comes back to the lab in one piece. The first step is to dig a trench around the entire bone, so that it is elevated on a pedestal, sort of like a mushroom. Later we will "pop" the "mushroom cap" away from the ground in one piece. The second step is to cover the pedestaled bone and rock with damp toilet paper. We apply the water with a brush so that the toilet paper conforms tightly to the surface. The reason for applying this layer is that it separates the next layer, plaster, from the bone, and prevents them from sticking to each other.
|
|
|
|
|
Left: Sterling Nesbitt applies damp toilet paper to the pedestaled fossil. This acts as a separator between the fossil and plaster. Right: Drew Eddy from North Carolina State University (left) and Randy Irmis (right) cut burlap strips. |
||
The next step is to make some kind of jacket to protect the fossil. The type of jacket depends on how large your pedestaled fossil is. If it is smaller than a foot across, you can cover it with plaster medical bandages, the exact same thing that a doctor will use to put a protective cast around a broken bone. Because our pedestal is much larger, we'll be using plaster and burlap strips. Both of these methods achieve the same result; they form a hard plaster shell that keeps the inside contents from moving about or breaking apart.
 |
 |
 |
||||
|
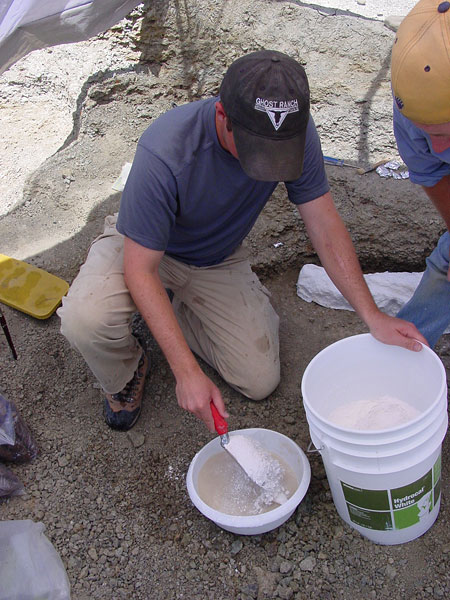
Left: Randy Irmis wrings excess water out of burlap strips that have been soaking for several minutes. Center: Randy mixes water and plaster just before making the plaster jacket. Right: Randy saturates the burlap strips in plaster. The damp burlap soaks up plaster better than dry burlap. |
||||||
Each strip is applied to the pedestal in a criss-crossing fashion that will give it added strength. We make sure to cover the entire pedestal with several layers of burlap and plaster. Then the waiting game begins. We have to make sure that the plaster is completely dry. If the plaster hasn't cured, there is always the possibility that it will fail because it cannot support the weight of the rock and fossil inside. After making sure the plaster is dry, we drive chisels and picks underneath the pedestal (now known as a plaster jacket) to loosen it. The plaster jacket is then flipped, with the hope that nothing will fall out. After a successful flip, the plaster jacket is transported back to the lab where rock will be slowly removed to expose the fossil underneath. |
 |
 |
|
|
Left: The entire group helps to flip the very heavy plaster jacket. Right: The jacket is flipped successfully. Randy Irmis inspects the bottom side to make sure no fossil bone is exposed. |
||
The method explained here is decidedly low-tech — it hasn't changed in over 100 years! No one has found a better way to remove fossils, so we continue to follow the method of vertebrate paleontology pioneers.
|
Excavations made at the Hayden Quarry in 2006 resulted in the discovery of bones representing both early dinosaurs and dinosaur precursors. Randy, Sterling, and their coauthors describe their findings in the cover story of the July 20, 2007 issue of Science. The fossils recovered show that dinosaurs and their non-dinosaur ancestors lived side by side for 15 or 20 million years or more, disproving the idea that the precursors were out-competed and quickly replaced by dinosaurs. With the new fossil material collected this summer, Randy and Sterling hope to learn more about the anatomy and evolution of dinosaur precursors, as well as the origins of true dinosaurs and how they diversified. Get more information in the UC Berkeley press release, a fact sheet provided by Randy, and the Science paper. See Randy and Sterling in these Discovery Channel video clips on You Tube: Find another Discovery Channel video clip about the Hayden Quarry here. Click "VIDEO SEARCH" and enter "Ghost Ranch" to locate the clip entitled "Paleontologists Bask in Delectable Dig Site." |
All photos by Sarah Werning, UCMP.